Setting up Stripe WebHook
Webhook setting is required to make sure some features work.
What is a webhook?
Webhooks allow Stripe to send notifications to your website when certain events occur. For example, if a payment is refunded in Stripe, Stripe can automatically send a notification to your webhook to let your website know.
Stripe uses webhooks to notify your application when an event happens in your account. Webhooks are particularly useful for asynchronous events like when a customer’s bank confirms a payment, a customer disputes a charge, or a recurring payment succeeds. Learn more about stripe webhooks.
Which features require webhooks?
- Email notification
- Checkout Form
- Digital Payment (WeChat, Alipay, Apple Pay, Google Pay ...)
How to set up webhook?
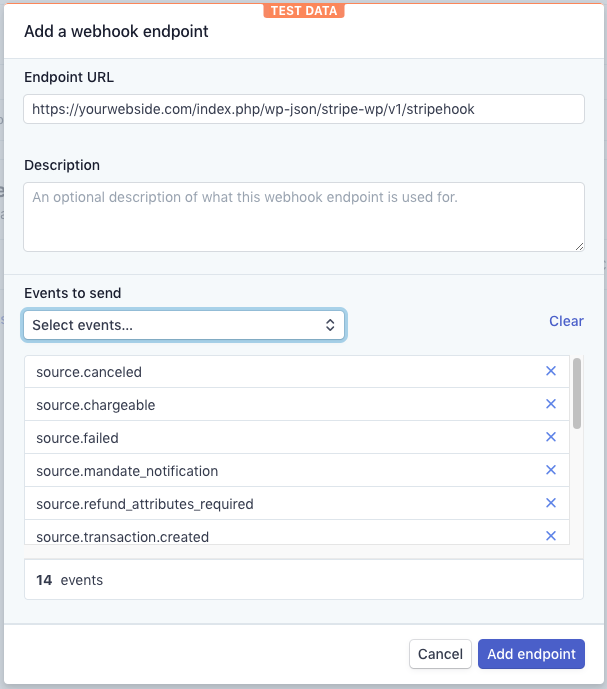
- In your Stripe dashboard, click Developer -> Webhooks, then click the Add endpoint button.

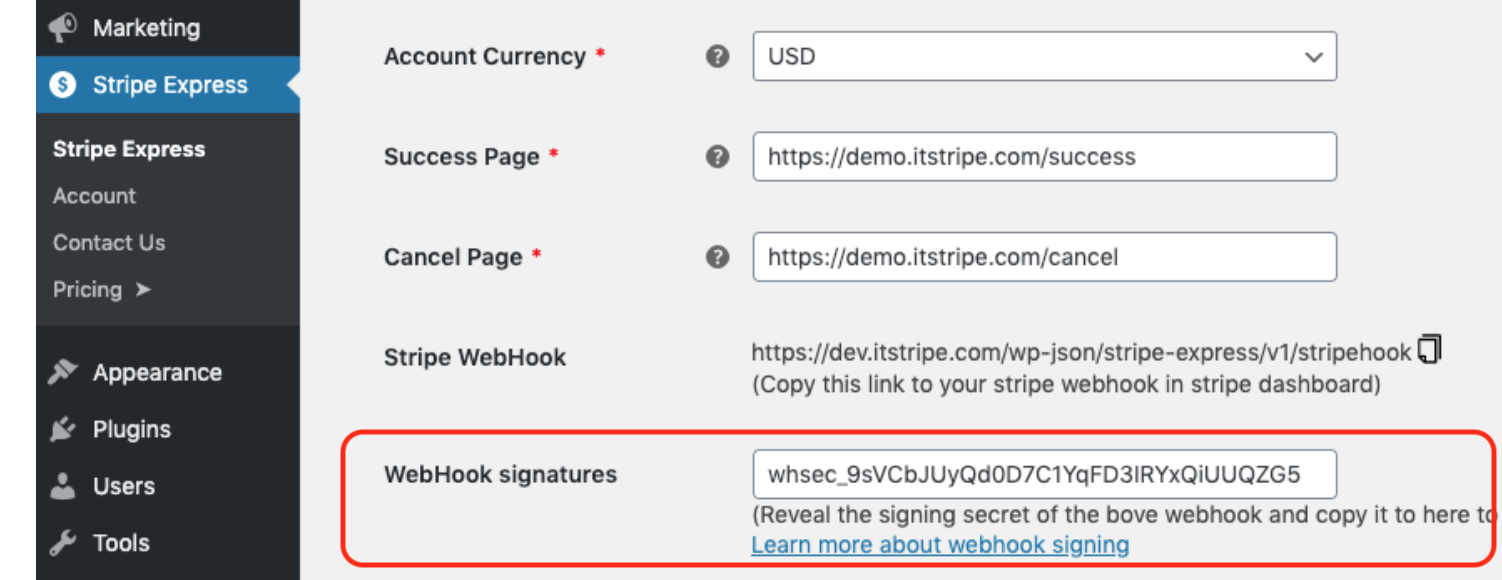
- To get the endpoint URL, go back to the Stripe Express Setting tab in your WordPress dashboard and you should see a field labeled
Stripe Webhook. Copy the URL or click the copy icon.

- Paste the endpoint URL into the dialog box in your Stripe dashboard.
- In the
Versionfield, Select your current API version, In theevents to sendfield, typePayment Intentto select all related events, also typeSource,chargeto select source and charge events, then save it.
Enable Webhook signatures (Optional)
Generating a signature for the webhook can greatly protect your endpoint from being abused by external parties.
- In your Stripe dashboard, go to the webhook settings and click the
Signing secretbutton to generate a signature.
Generate signature:


- Copy the generated value and paste it into the
Webhook Signaturefield in the Stripe Express setting in your WordPress dashboard.